How to Install a Split Rail Fence on a Gravel Base
Release time:2025-12-04 Click:25
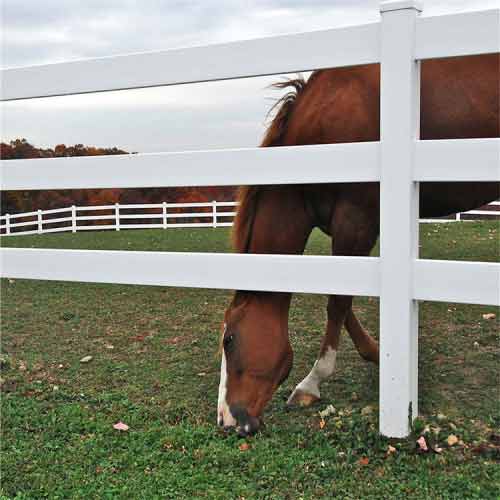
Installing a split rail fence on a gravel base requires careful preparation and specialized techniques to ensure stability, as gravel’s loose nature can compromise post support if not addressed properly. Start by marking the fence line with stakes and string, then dig post holes 36–48in deep (twice the post width) using a post hole digger. The key step is stabilizing the posts: fill the bottom 6–8in of each hole with compacted gravel to improve drainage, then place the post centered in the hole and surround it with a concrete collar (4–6in thick) to anchor it firmly—this prevents the post from shifting in the loose gravel. Allow the concrete to cure for 24–48 hours before attaching the split rails.
Once the posts are set, install the split rails by sliding them into the pre-cut notches on the posts. For sloped gravel bases, use racked rails (angled to match the slope) or stepped rails (offset to maintain level) to ensure a uniform look. Secure the rails with galvanized screws (optional, for extra stability) and check that the fence is level and plumb using a post level. To enhance durability, choose pressure-treated or cedar posts and rails, which resist rot and insect damage. Additionally, add a layer of landscape fabric around the base of the posts to prevent weed growth and stabilize the gravel. With proper post anchoring and drainage, a split rail fence on a gravel base can last 10–15 years, providing a rustic, functional barrier for property boundaries or livestock containment. This installation method balances stability and adaptability, making it suitable for gravel driveways, rural properties, or areas with poor soil conditions.
Previous article:Can you leave removable fence panels up all winter?
Next article:Classic Farm Charm Starts with a Split Rail Fence
Hot products
Mobile: +86 15097722953
Email:metalproducts2021@163.com
Email:1755383270@qq.com